Real Estate Ops Walkthrough: Automating Transaction Task Tracking with Airtable, Part 1
Last updated October 2023
It’s no secret that task management for real estate deals can be tedious and complicated. Not only does every state and county have their own hoops to jump through, but every team has their own process for guiding a deal from contract to close.
We’ve seen all kinds of solutions for this: some teams copy a spreadsheet for each transaction, and some manually duplicate a massive task list from Asana. But this is one of the best places to begin your team’s automation journey, because this problem can be fixed with just a single Airtable automation! Here how:
Thanks for reading Deal Ops Automation! Subscribe for free to receive regular expert automation tips and walkthroughs like this.
See this tutorial in video form here:

Desired behavior
Whenever a deal is created or changes stage (e.g. goes from “Active Listing” to “Under Contract” stage), all tasks that need to be completed in this new stage will be generated. We will have a table to configure which tasks get generated at each stage, and we will be able to assign owners to each task.
Before we start building: what is already in place
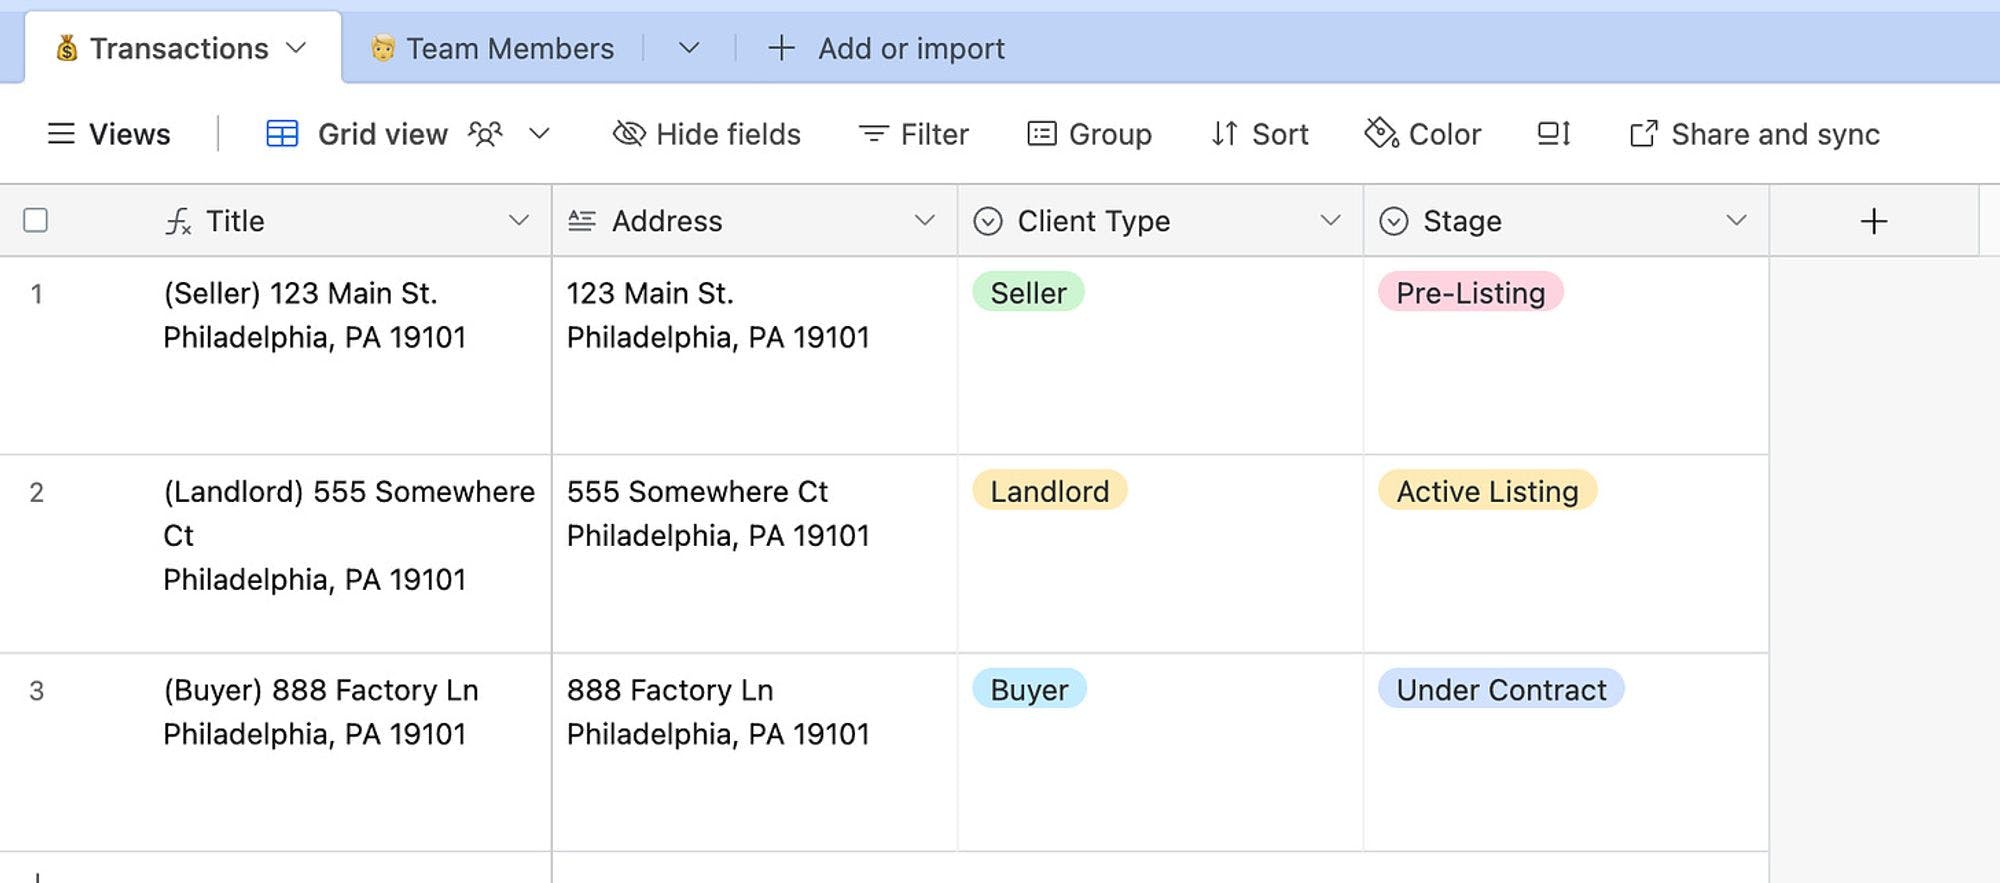
We will assume you already have a table where you track transactions. We’ll call this table “💰 Transactions” and in our example, it starts out with just a few columns:
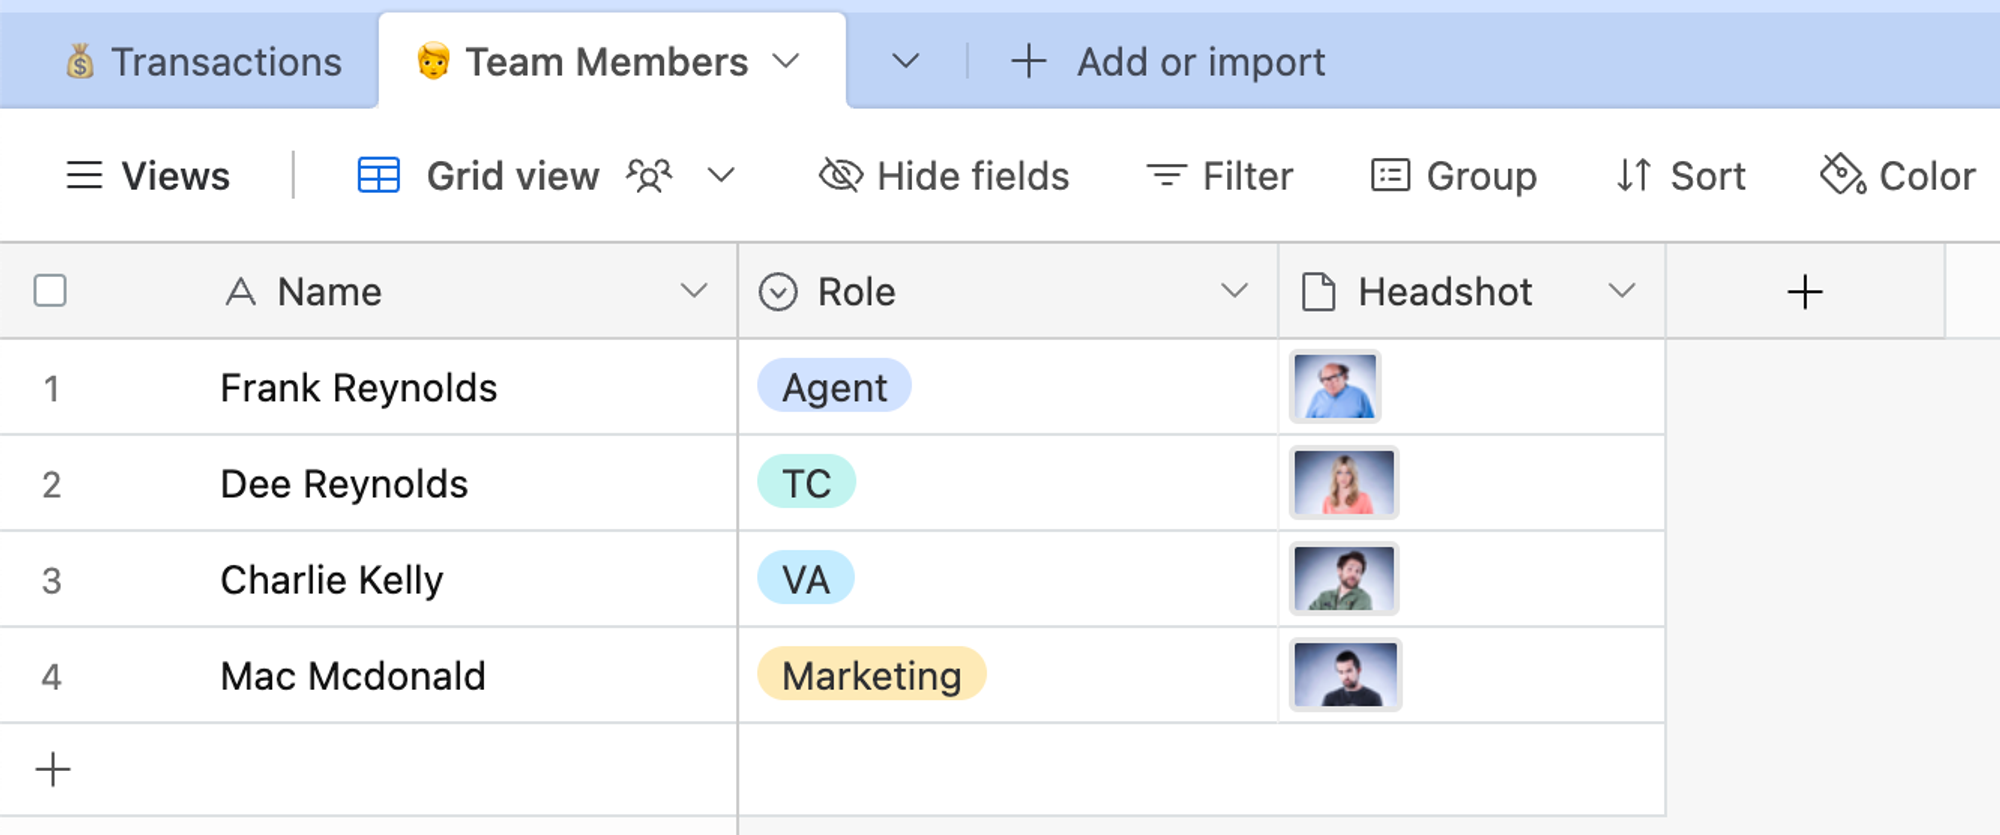
We’ll also assume you have a table where you track all of your team members (Agents, VAs, and anyone else who might be listed as a task’s owner).
We’ll call this table “🧑 Team Members” and it also just has a few columns:
Step 1: Set up the task table
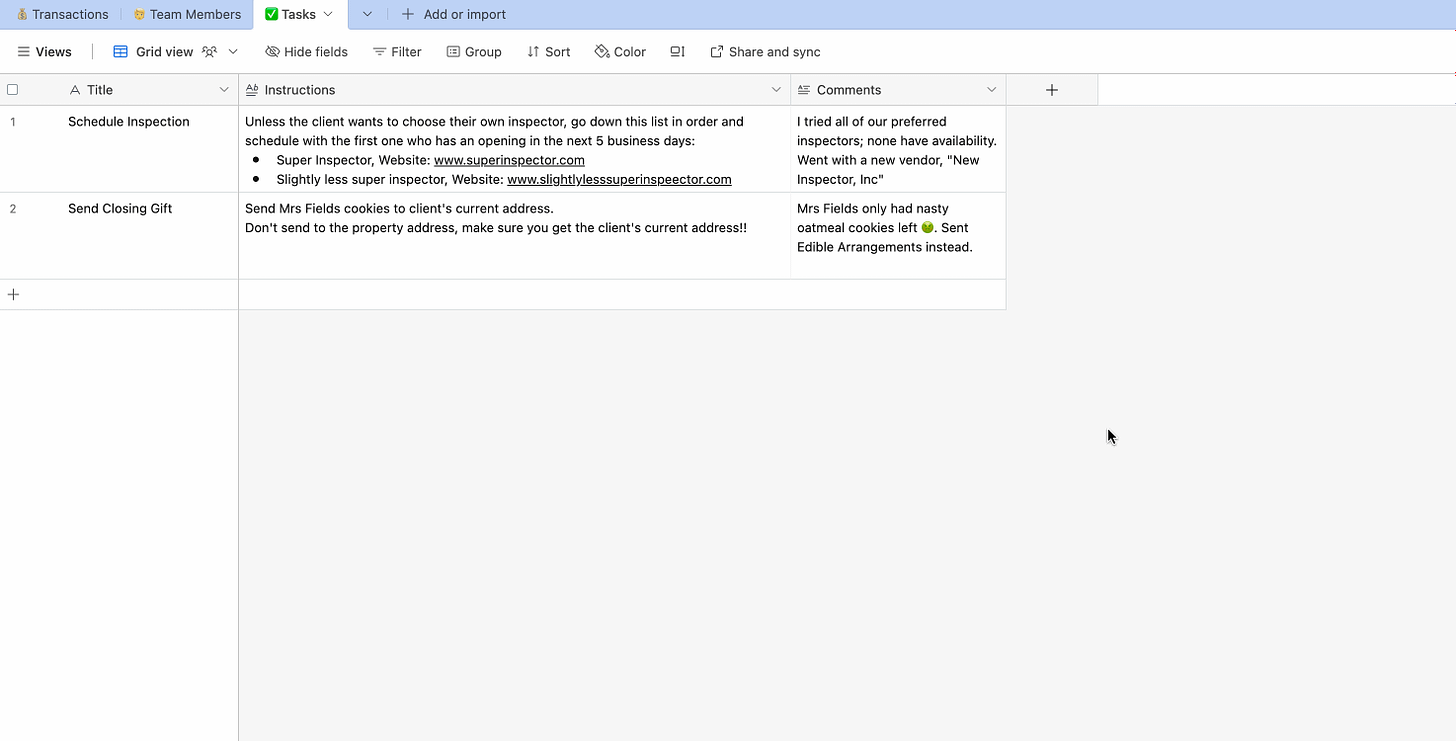
Now, let’s add a new table for tracking tasks. We’ll call it “✅ Tasks”
“✅ Tasks”: this is the table in which each transaction’s tasks will be created and tracked. When a deal changes stage, this is the table where all required tasks for the new stage will be generated (e.g. a “Schedule Inspection” task for all buyer transactions when they go under contract).
To start, the task will have the following fields:
- Title (Single-line text field)
- A single-line text field to identify the task (e.g. “Schedule Inspection”)
- Instructions (Long text field)
- A long text field to add more details about the task (e.g. “Here are our favorite inspectors and their websites:…”)
- Comments (Long text field)
- A Long text field for people to leave special notes that are relevant to this particular task (e.g. “Scheduled with Inspector X for next Thursday”)

Step 2: Connect the task table to the “💰 Transactions“ and “🧑 Team Members“ tables
This is a start, but we still need at least two more vital pieces of information for each task: we need to know which transaction the task is for, and who the task owner is! Let’s add two more fields to the “✅ Tasks” table:
- “Owner”: Linked record to the “🧑 Team Members” table. Marks the person who is expected to own this task
How to add the “Owner” linked record field to the “✅ Tasks” table
- “Transaction”: Linked record to the “💰 Transactions” table. Marks the transaction that this task is for
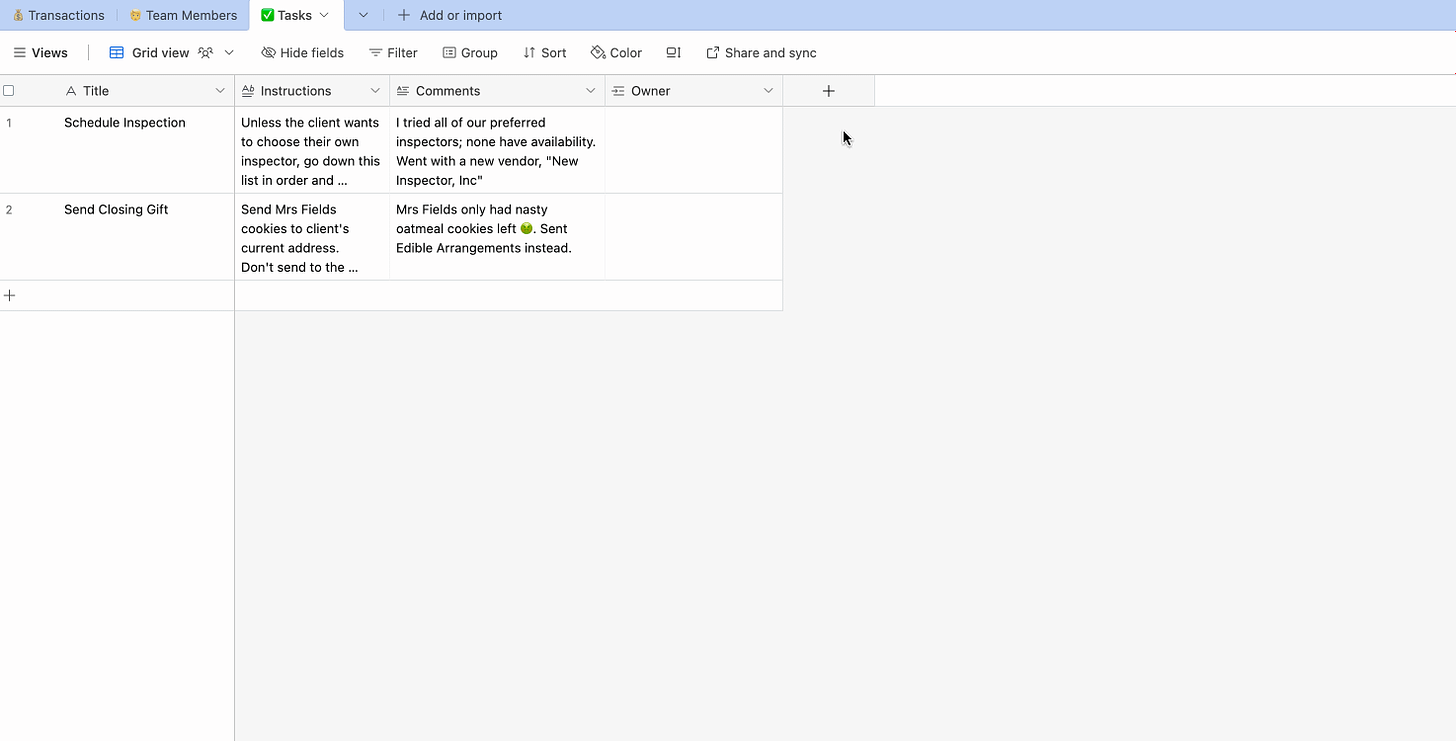
Now we can assign owners to tasks, and link tasks to the transaction that they are related to!
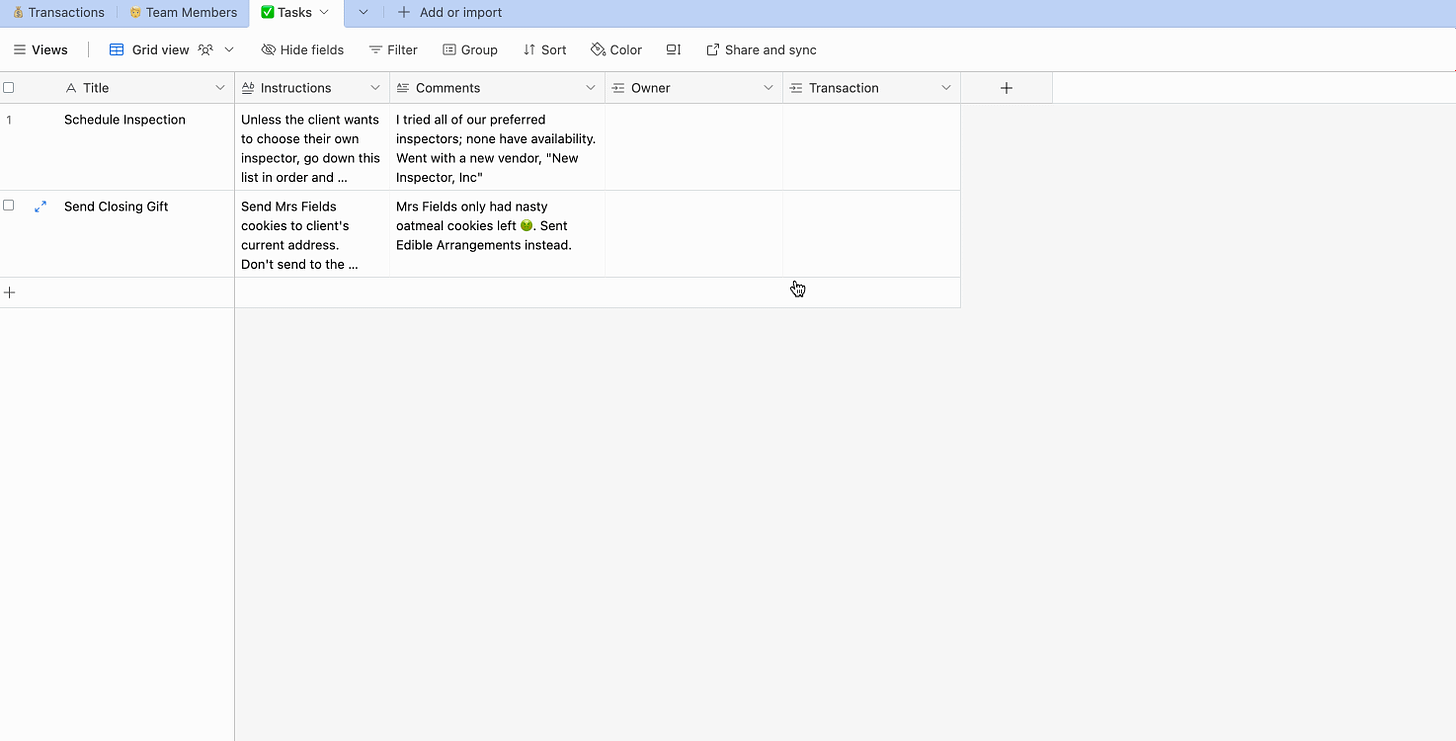
One other thing to note: If you click over into the “💰 Transactions” or “🧑 Team Members“, you’ll notice that they each have a new column called “✅ Tasks“. How did that happen? I thought we only added a column to the “✅ Tasks” table!
When you add a linked record column between two different tables, a column gets added to each table, so you can track the relationship in both directions (e.g. you can see all of the tasks related to a particular transaction by looking at the “💰 Transactions” table’s new “✅ Tasks” field!
Congratulations, you now have a basic task-tracking system for all your transactions! You can set up some cool views to see things like “Open tasks grouped by transaction”.
Now follow along for part 2 to see how we automate the creation of these tasks! That’s where the real ✨ Magic ✨ happens!